Table of Contents
Actions Overview
Within Safe365 you can create Actions and assign these out to any user within your organisation. Actions can be created from many places within Safe365 which we will highlight in this user guide. Actions can be created for any work item that needs to be completed, either as a one off or repeating.
Actions Dashboard
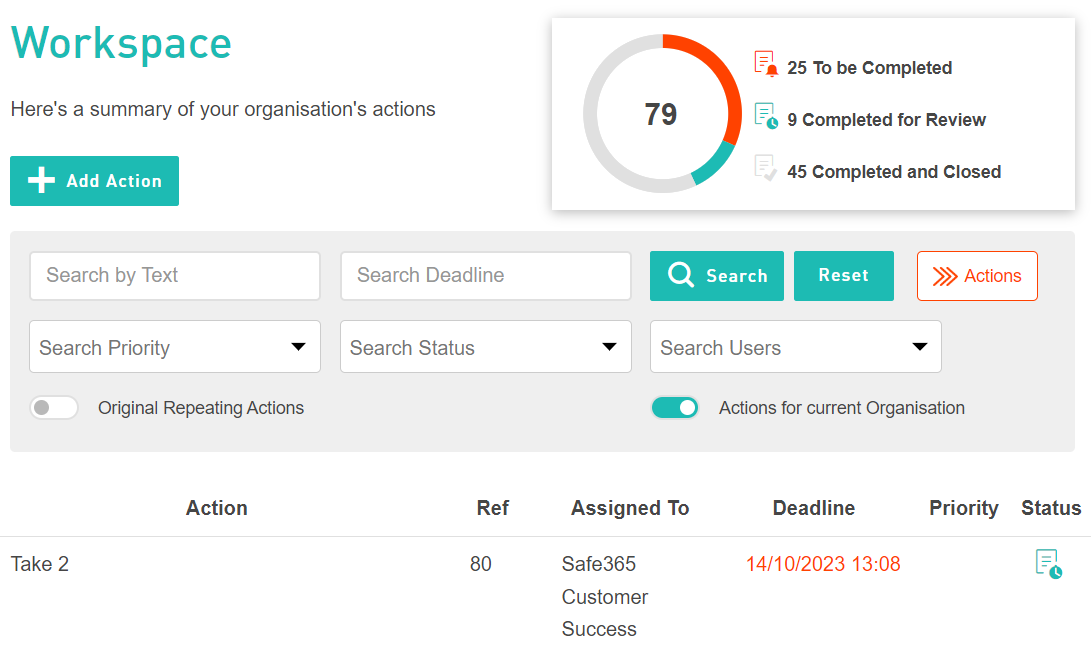
As an admin, you will be able to see all Actions assigned out to all users. You can then filter this by deadline, priority, status and user as shown below.

Original Repeating Actions
When this is toggled on, it will then display those actions that are set to repeat, where these can be edited or changed as required. This doesn’t show the instances of the repeated actions.
Actions for Current Organisation
When this is toggled on, you will only be shown actions for the current organisation you are in. Vice versa when this is off you will see all actions owned or assigned to you from any Safe365 organisation.
Workers View within Safe365 Web Portal
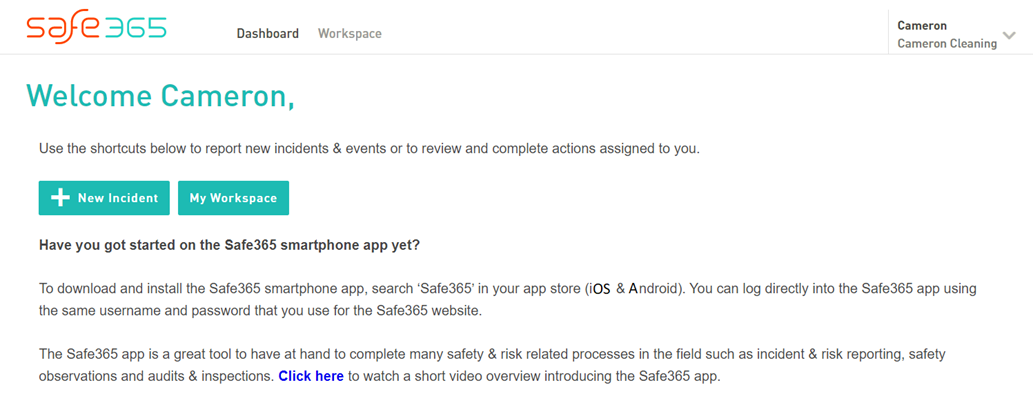
All workers can now access Safe365 from the web. Interacting with Actions can be done in the web portal, so we have created a dashboard and workspace for the worker role.
Workers will still have full access to the Safe365 smartphone app, but now they can also create and complete actions, and lodge Incident reports from the web.
How to Create Actions in Safe365 Workspace
Actions can be created throughout the Safe365 System. The centralised place for Actions is inside Safe365 Workspace. Here, you can also create Actions and assign them out to users in the system.
Creating an Action in Workspace
How to create an Action
How to create an Action:
- Click into ‘Workspace’.
- Click ‘Add Action’.
- Enter a ‘Title’.
- Enter a ‘Description’ explaining what the user needs to do.
- Click on ‘Assignee’ and selecct user/s to assign the Action to.
- If required, enter a ‘Deadline’ and/or 'Priority.
- Click ‘Add Action’.
Action Tags Explained
Action Tags Explained
When creating an Action across the platform you will see multiple action tags available, this guide explains the different tags and how you can use them.
Setting up a Repeating Action
Across the meta-tags you can set up a Repeating Action. This can be extremely beneficial for reminders in the upcoming months and years.
Examples of repeating actions can be, vehicle checks, office checks, plant & equipment checks etc.
Setting up a Repeating Action
Actions within the Safety Index
In the Maturity Index, Actions can be used as reminders for tasks in the upcoming months.
When in the maturity assessment you will see the Actions button available to create an Action right inside the question.
How to add an Action in the Safe365 Maturity Assessment
Adding an Action in the Safe365 Maturity Assessment
You can set up Actions within your Safe365 Maturity Assessment, these could be reminders or tasks. These Actions can also be assigned to other Users in the Safe365 account.
Some examples of these Actions could be:
- Reviewing Documentation
- Making changes to processes
- Reminding of tasks
These Actions will sit directly in the question you've assigned it to, but it will also be available in the Workspace Tab.
To add an Action to an Assessment Question:
- Click into an Element.
- Click ‘Add Action’.
- Fill out the Action Details and Assign to a user.
The assignee will be notified with the Action.
Actions within a Submitted Report
This feature is also available in the Performance Console, meaning you can create Actions directly into the reports being submitted by users.
Actions can be used for follow up actions from these reports.
How to create an Action inside an Incident Report
Create an Action inside an Incident Report
Safe365's Action feature is available throughout the entire platform. When investigating a Report you may find some follow up Actions need to be taken, this feature will allow you to notify other Users in your Safe365 account to complete tasks.
How to add Actions within a Report:
- Navigate to the Performance Dashboard
- Click through to the Report.
- Under ‘Actions’, click ‘Add Action’.
- Complete the Action details, and Assign to a User.
- Click ‘Add Action’.
The Action will be saved, and you can view it within the Report, and under Workspace.
